A 10×20 tiny home, just 200 square feet, isn’t a compromise. It’s a deliberate choice that forces clarity: what do you actually need, and what can you build with your own hands? This footprint fits on most flatbed trailers, slides into backyard setups without major site work, and in many jurisdictions stays under the square footage threshold that triggers full permitting nightmares. Whether someone’s building a backyard ADU, a mobile weekender, or a primary dwelling, a 10×20 shell is manageable for a skilled DIYer with help on the heavy lifts. This guide covers layouts, must-have features, real costs, permit realities, and clever storage hacks to make 200 square feet work.
Table of Contents
ToggleKey Takeaways
- A 10×20 tiny home at 200 square feet offers a practical solution for backyard ADUs, guest suites, or primary dwellings while staying under permitting thresholds in many jurisdictions.
- Budget-conscious builders can complete a DIY 10×20 build for $15,000–$30,000 using mid-grade materials, roughly a quarter of the cost for larger structures.
- Loft designs maximize ground-floor usability by elevating the sleeping zone, while single-level layouts suit accessibility needs and eliminate climbing.
- Proper plumbing and electrical planning—grouping fixtures on one wall and including 50–60 amp service—keeps rough-in costs manageable and future repairs simple.
- Strategic storage solutions like vertical shelving, built-in furniture, and ship’s stairs with drawers transform 200 square feet into functional living space without cramped feeling.
- Local zoning codes determine whether a 10×20 tiny home qualifies as an ADU, RV, or temporary structure; verify permits and setback requirements before breaking ground to avoid costly delays.
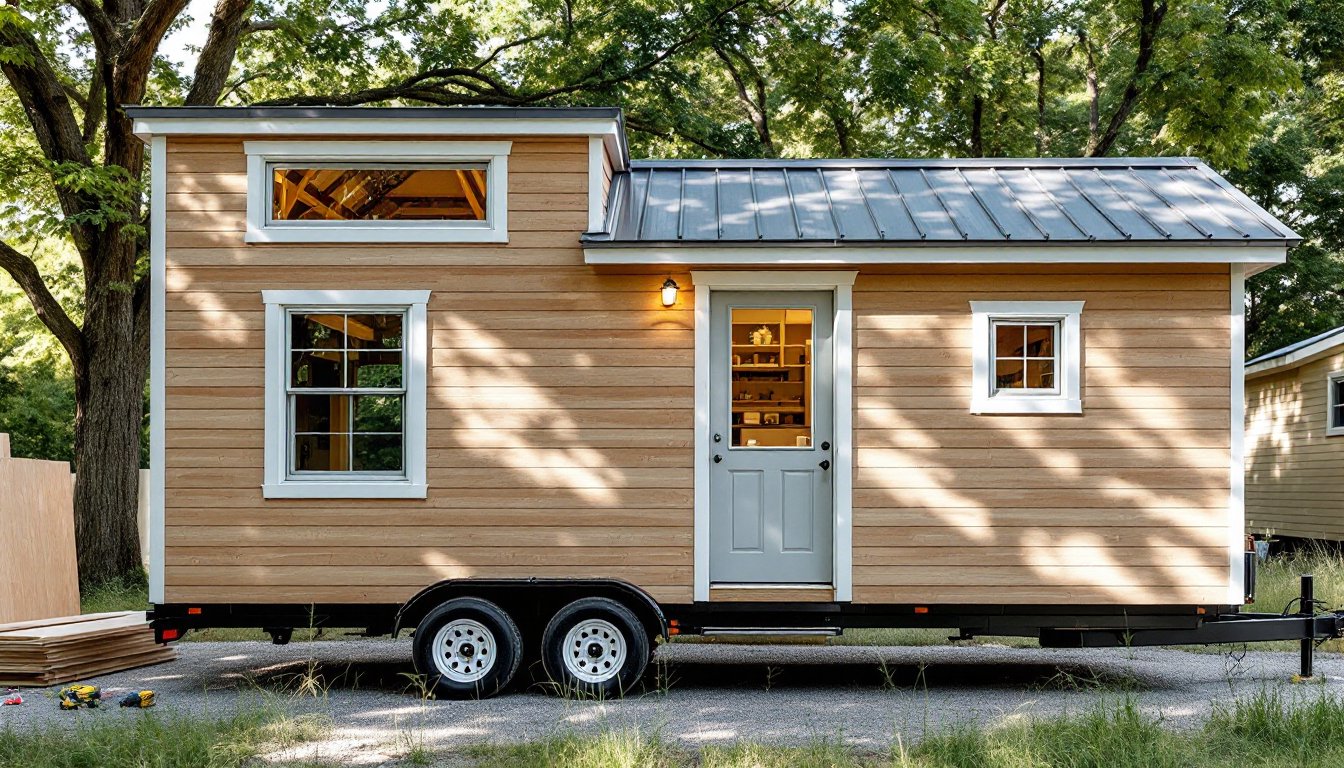
Why Choose a 10×20 Tiny Home?
The 10×20 footprint hits a practical sweet spot. At 200 square feet, it’s large enough to include a full bathroom, kitchen galley, and separate sleeping zone, yet small enough to tow on a standard 20-foot flatbed trailer without oversize permits in most states. Material costs stay reasonable, 16-foot studs cover the length without splicing, and a single sheet of plywood spans the width with minimal waste.
From a zoning standpoint, many municipalities classify structures under 200 square feet as accessory buildings, sidestepping full residential code reviews. That’s not universal, always verify local ordinances, but it opens doors for backyard offices, guest suites, or rental ADUs without the red tape of a full dwelling permit. The build itself is approachable: a two-person crew with intermediate framing skills can frame walls and set trusses in a long weekend. Electrical and plumbing still require code compliance and, often, licensed work, but the scale keeps labor hours in check.
Cost and speed matter. A 10×20 build typically runs $15,000–$40,000 depending on finishes, foundation type, and whether it’s DIY or contracted. Compare that to $60,000+ for a 400-square-foot structure. The smaller envelope also means lower utility bills, heating and cooling 200 square feet is inexpensive, even with basic insulation.
Design Layout Options for 10×20 Tiny Homes
Layout choices hinge on ceiling height, intended use, and whether the builder wants floor space or vertical storage. Single-level and loft designs each solve different problems.
Single-Level vs. Loft Designs
Single-level layouts keep everything on one plane, no ladder, no ducking. Standard 8-foot ceilings work fine, and the entire 200 square feet remains accessible. This approach suits aging-in-place scenarios, wheelchair users, or anyone who doesn’t want to climb to bed every night. Typical single-level breakdown: 60 square feet for a wet bath (toilet, corner shower, vanity), 40 square feet for a galley kitchen (24-inch-deep counters, apartment-sized fridge, two-burner cooktop), and the remaining 100 square feet split between a Murphy bed or convertible sofa and a small dining/work table. It’s tight, but functional.
Loft designs reclaim floor space by stacking the sleeping zone overhead. A loft platform at 6.5 feet leaves roughly 70 square feet of headroom-limited storage below and opens up the main floor for a full sofa, dining area, and better kitchen workflow. Framing a loft requires 2×8 or 2×10 joists at 16-inch centers to handle live loads (typically 40 psf for sleeping areas per IRC). Ladder or ship’s stair access eats 6–10 square feet depending on design. Many ADU floor plans lean into lofts to preserve ground-floor usability, especially when the structure doubles as an office or guest suite.
Ventilation matters more in lofts, heat rises, and a sleeping loft without a window or vent fan becomes a sweatbox in summer. Plan for at least one operable window (egress-sized if local code treats the loft as a sleeping room) and a small exhaust fan.
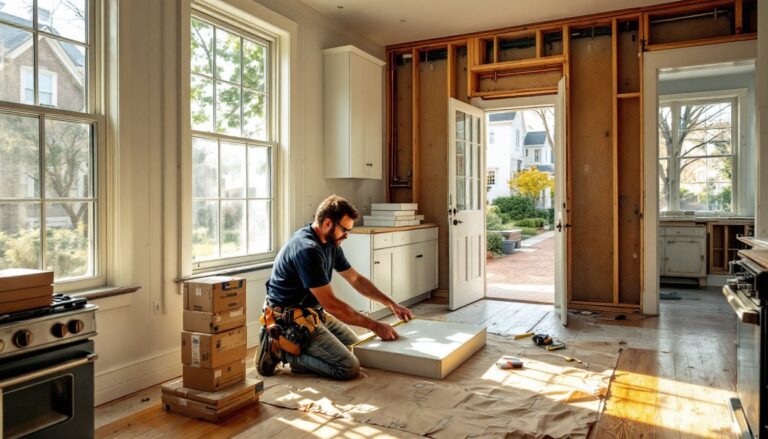
Essential Features to Include in Your 10×20 Build
Every square inch earns its keep in a 200-square-foot home. Prioritize the non-negotiables first: plumbing rough-in, electrical panel placement, and insulation.
Plumbing: Group water fixtures, kitchen sink, shower, toilet, on one wall or back-to-back to minimize drain runs and vent stack complexity. A 2-inch ABS or PVC drain handles a toilet and shower: kitchen sinks typically need a separate 1.5-inch drain with a vent. If the build sits on a trailer, use PEX supply lines secured with cushioned clamps to handle road vibration. For stationary builds, standard Type L copper or PEX-A works fine. Install shutoffs at every fixture, repairs are easier when you’re not draining the whole system.
Electrical: A 100-amp subpanel is overkill for 200 square feet: most tiny homes run on a 50-amp or 60-amp RV-style service or a 30-amp subpanel fed from a main house. Include at least four 15-amp circuits: one for kitchen outlets (GFCI-protected), one for bathroom GFCI, one for lighting, and one for heat/AC. Use 12/2 Romex for 20-amp kitchen circuits if running a microwave or toaster oven. Code requires AFCI protection on most circuits now, check the NEC 2020 or 2023 edition and local amendments.
Insulation: Spray foam is popular in tiny homes because it seals and insulates in one pass, but closed-cell spray foam adds significant cost ($1.50–$2.50/sq ft installed). Fiberglass batts (R-13 in 2×4 walls, R-19 or R-21 in 2×6 walls) plus a housewrap and interior vapor barrier work fine in moderate climates. Don’t skip the subfloor, 1-inch rigid foam under the deck reduces heat loss through the floor, especially on trailer builds.
Windows and doors: Use tempered or double-pane Low-E glass to manage heat gain. Casement or awning windows open outward, saving interior clearance. A 32-inch exterior door is code minimum: a 30-inch door feels cramped with furniture moving in and out.
Building Costs and Budget Breakdown
Real numbers vary by region and finish level, but here’s a baseline for a 10×20 DIY build using mid-grade materials:
Foundation/Trailer: $2,000–$5,000. A used 20-foot flatbed trailer runs $2,000–$3,500: a new tandem-axle tiny house trailer with brakes costs $4,500–$6,000. Pier-and-beam foundations (six 12-inch concrete sonotubes with 4×6 pressure-treated beams) run $800–$1,200 in materials.
Framing and Shell: $3,000–$6,000. Includes 2×4 studs (or 2×6 for better insulation), engineered roof trusses or rafters, 7/16-inch OSB sheathing, housewrap, and metal or asphalt shingle roofing. Metal roofing (standing seam or corrugated) adds $600–$1,200 over shingles but lasts longer and sheds snow.
Windows and Doors: $800–$2,000. Three double-pane vinyl windows and one exterior door. Upgrade to fiberglass or wood doors if aesthetics matter.
Electrical and Plumbing: $1,500–$3,500. DIY-friendly if licensed isn’t required, but most jurisdictions need a licensed electrician and plumber to pull permits and pass inspection. Budget $1,000–$1,500 for a plumber to rough-in and connect, $800–$1,200 for an electrician to wire and set the panel.
Insulation and Drywall: $1,200–$2,500. Includes R-13 batts, 1/2-inch drywall, joint compound, and primer. Add $500–$800 if hiring out taping and finishing.
Interior Finishes: $2,000–$8,000. Vinyl plank flooring ($1.50–$3/sq ft), kitchen cabinets (IKEA or builder-grade stock), countertop (laminate or butcher block), apartment-sized appliances, bathroom vanity, toilet, shower surround.
Total DIY estimate: $15,000–$30,000. Hiring a contractor for turnkey delivery pushes that to $35,000–$50,000+. Costs spike in high-COL areas or if using premium finishes (quartz counters, tile showers, hardwood floors).
Zoning, Permits, and Placement Considerations
This is where tiny home dreams hit local bureaucracy. Zoning codes determine whether a 10×20 structure counts as an accessory dwelling unit, recreational vehicle, or temporary structure, and each classification carries different rules.
Accessory Dwelling Units (ADUs): Many cities now allow ADUs in single-family zones, but require permanent foundations, utility hookups, and full building permits. The 200-square-foot size often exempts tiny homes from minimum square footage rules (which can be 400–600 sq ft), but you’ll still need setback clearances (typically 5 feet from rear and side property lines), and the structure must meet IRC codes for egress, fire separation, and mechanical systems.
RV/THOW Classification: If built on a trailer, some jurisdictions treat it as a recreational vehicle, which isn’t allowed as a permanent dwelling in residential zones. RV parks and certain rural parcels permit them, but HOAs and city codes often prohibit long-term RV living.
Permits: Even if zoning allows it, expect to pull permits for electrical, plumbing, and building/structural work. Permit costs range from $200–$1,500 depending on jurisdiction. Inspections happen at rough-in and final stages. Skipping permits risks fines, difficulty selling the property, and homeowner’s insurance headaches.
Utilities: Permanent builds need sewer or septic connections (a composting toilet is a code-compliant alternative in some areas), water service, and electrical hookup. Off-grid setups, solar panels, rainwater catchment, propane, are legal in many rural zones but restricted in urban areas.
Before buying materials, visit the local planning department or hire a code consultant. A $200 consultation can prevent a $10,000 mistake.
Space-Saving Tips and Storage Solutions
Making 200 square feet livable requires ruthless organization and built-ins that do double duty. Borrowed strategies from apartment organization and home decluttering guides translate directly to tiny builds.
Vertical storage: Install shelving and cabinets up to the ceiling. An extra 12 inches of upper cabinet space in a galley kitchen stores a month’s worth of dry goods. Use the gap above doorways for shallow shelves (6-inch depth) to hold books, tools, or seasonal items.
Built-in furniture: A Murphy bed or fold-down table eliminates the need for separate dining and sleeping zones. Wall-mounted desks (a 24-inch-deep butcher block countertop on folding brackets) provide workspace without eating floor area. Bench seating with lift-up lids turns every chair into a storage bin.
Staircase storage: If using a loft, build ship’s stairs with drawers in each tread instead of a ladder. Each step holds shoes, tools, or linens, adds cost and complexity, but reclaims 10–15 cubic feet.
Pocket and barn doors: Swinging doors consume arc space. A 32-inch pocket door slides into the wall: a barn door on exterior-mount hardware keeps clearances tight. Barn doors don’t seal as well acoustically, so use pocket doors for bathrooms.
Modular and stackable containers: Clear bins with labels keep closets and under-bed storage tidy. Stackable wire baskets work in kitchens for produce and pantry overflow.
Decluttering discipline: Tiny living only works if stuff doesn’t accumulate. One-in, one-out rules and quarterly purges prevent clutter creep. It’s not sexy, but it’s the difference between cozy and claustrophobic.