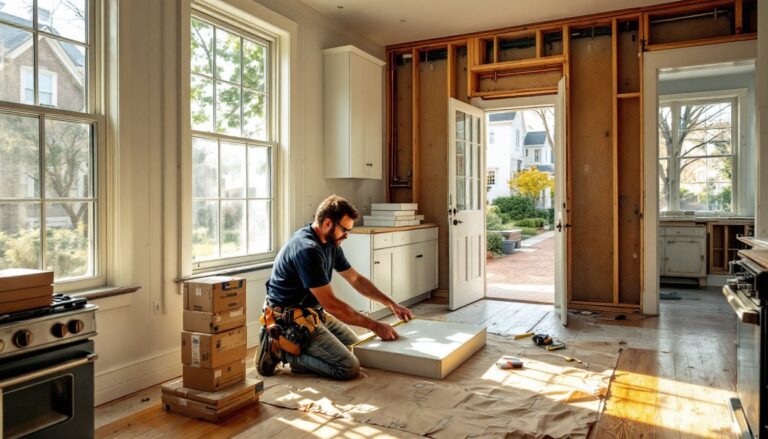
Building a luxury home theater isn’t just about buying the biggest TV and plushest recliners. It’s a coordinated project that demands attention to acoustics, lighting control, equipment placement, and room treatment, all while balancing comfort with performance. Whether you’re converting a spare bedroom, finishing a basement, or designing a dedicated media room from scratch, understanding what separates a basic setup from a true cinematic experience will help you make smart decisions that won’t require expensive do-overs later.
Table of Contents
ToggleKey Takeaways
- A luxury home theater requires more than expensive equipment—focus on acoustics, lighting control, room treatment, and proper equipment placement to deliver a true cinematic experience.
- Choose between a 4K laser projector (best for rooms 12+ feet deep with sizes above 85 inches) or OLED/Mini-LED displays, depending on ambient light control and room depth constraints.
- Implement a 7.2.4 Dolby Atmos speaker configuration with dedicated AV processor and multi-channel amplifiers rather than all-in-one receivers for superior audio clarity and dynamic range.
- Build acoustic panels yourself for $15–$25 per panel instead of buying retail ($80–$150) and prioritize bass traps in corners to eliminate boomy spots caused by room modes.
- A realistic budget for a 14×20-foot luxury home theater ranges from $14,000–$41,000, with acoustic treatment and seating riser construction being areas where cutting corners directly compromises performance.
- Avoid perfect cube or proportional room dimensions; aim for irregular ratios to prevent standing waves, and always run electrical and audio wiring separately to minimize signal interference.
What Defines a Luxury Home Theater?
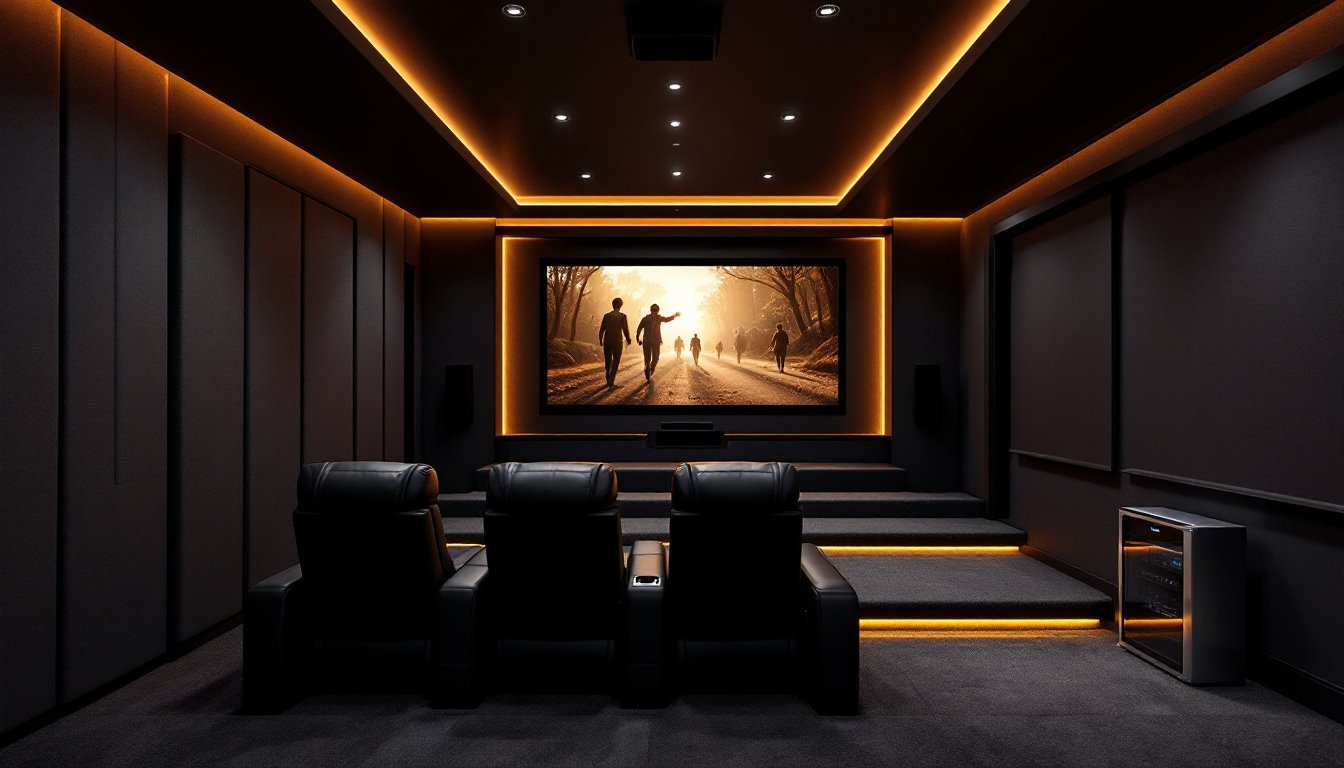
A luxury home theater goes beyond a large-screen TV and surround sound bar. It’s a purpose-built environment optimized for audio clarity, visual performance, and viewer comfort.
Key characteristics include dedicated space (not a multipurpose family room), acoustic treatment that controls sound reflections and prevents echo, controlled lighting with dimmable or automated fixtures, and high-caliber A/V equipment that delivers reference-quality sound and picture. You’ll also find theater-grade seating with proper sightlines, bass management through subwoofers placed according to room modes, and often automation systems that control lighting, shades, and equipment with one button press.
The room itself matters as much as the gear. Soundproofing between wall studs (using resilient channels, mass-loaded vinyl, or double-drywall techniques) keeps sound from bleeding into adjacent rooms and blocks outside noise. Acoustic panels on walls and ceilings absorb mid- and high-frequency reflections, while bass traps in corners tame low-frequency buildup.
If you’re serious about replicating the theater experience, you’ll need to think about ambient light control. Blackout shades or curtains are non-negotiable. Even a small amount of ambient light washes out contrast on projection screens. For inspiration on how designers approach these luxury installations, high-end theater designs often showcase custom millwork, fabric wall treatments, and concealed speaker placement that blends performance with aesthetics.
Essential Components of a High-End Home Theater
Audio and Visual Equipment Worth the Investment
Projectors vs. Large-Format Displays: For screen sizes above 85 inches, a 4K laser projector offers better value and immersion than a comparably sized flat panel. Laser light sources last 20,000+ hours and maintain consistent brightness without bulb replacements. Pair it with a fixed-frame acoustically transparent screen (100–120 inches diagonal is common for rooms 12–16 feet deep) so you can place center-channel speakers directly behind the screen for proper dialogue anchoring.
If you prefer a display, OLED or Mini-LED panels deliver deep blacks and high contrast ratios. Look for models with low input lag (under 20ms) if gaming is part of the plan, and full-array local dimming for LCD-based sets.
Audio system architecture: A true luxury setup uses separates, not an all-in-one receiver. That means a dedicated AV processor (handles decoding and room correction) paired with multi-channel amplifiers (delivers clean power to each speaker). Budget at least 100 watts per channel for dynamic headroom.
For speaker configuration, 7.2.4 Dolby Atmos is a practical luxury standard: seven ear-level speakers, two subwoofers, and four height channels (either ceiling-mounted or upward-firing modules). In-wall and in-ceiling speakers work if you’re building new or have attic/crawlspace access, but freestanding towers and bookshelf speakers generally offer better performance per dollar.
Subwoofers need careful placement. Dual subs smooth out bass response across multiple seating positions. A common starting method: place one sub at the main listening position, crawl around the room’s perimeter while playing a bass sweep tone, and mark where it sounds best, that’s where the sub should go. Repeat for the second sub. For rooms larger than 2,500 cubic feet, consider ported subs with 12-inch or 15-inch drivers.
Many enthusiasts rely on home theater equipment reviews when comparing projector brightness specs, speaker sensitivity ratings, and processor feature sets.
Seating and Comfort Features
Theater seating is one area where comfort directly impacts how often the space gets used. Look for power recliners with memory foam padding, motorized headrests, and cup holders that don’t rattle during action scenes. Rows should be stepped or risered if you have ceiling height (8 inches of rise per row is standard). This keeps the back row’s sightline clear of front-row heads.
Row spacing: Allow 36–40 inches between rows for walkability when seats are reclined. Seat width runs 20–24 inches per person: go wider if your audience includes larger individuals.
For a two-row setup in a 14×20-foot room, plan for three or four seats per row. Avoid centering a single seat directly in front of the screen, it’s a sightline sweet spot, but socially awkward.
Accessories that matter: USB charging ports in armrests, tray tables for snacks, and ambient LED lighting along risers or under seats (use warm white or red to preserve night vision). Some high-end chairs include tactile transducers (bass shakers) that vibrate with low-frequency effects, effective but not essential unless you want a true 4D experience.
Designing Your Space for Optimal Performance
Room dimensions and ratios: Avoid perfect cubes or rooms where length, width, and height share simple multiples (like 10×10×10 or 12×16×8). These dimensions create strong standing waves that cause boomy or dead spots in bass response. A golden ratio (1 : 1.6 : 2.6 for height : width : length) isn’t mandatory, but aim for irregular proportions. A room that’s 13 feet wide, 11 feet tall, and 22 feet long will perform better acoustically than a square.
Acoustic treatment basics: First reflections, sound bouncing off side walls, ceiling, and floor before reaching the listener, smudge stereo imaging and dialog clarity. Place 2-inch-thick acoustic panels at reflection points (sit in the main seat, have a friend hold a mirror on the wall: if you see the speaker, that’s a reflection point). Panels should cover about 20–30% of wall surface area.
Bass traps go in corners where walls meet or where walls meet the ceiling. These low-frequency absorbers are typically 4–6 inches thick and filled with rigid fiberglass (like Owens Corning 703) or mineral wool. You can buy prefab panels or build your own frames with fabric-wrapped insulation, just wear gloves, long sleeves, a dust mask, and eye protection when cutting fiberglass.
Electrical and wiring: Run power and low-voltage in separate conduits to avoid interference. Plan for dedicated 20-amp circuits for amplifiers and projectors, high-end amps can pull 10–15 amps at peak. Use in-wall-rated speaker wire (CL2 or CL3) if fishing through walls: this meets fire code.
If you’re routing HDMI over long distances (over 25 feet), use active optical HDMI cables or install an HDBaseT extender that runs signals over Cat6. Standard copper HDMI cables lose signal integrity beyond 15–20 feet, especially at 4K/120Hz.
Lighting control: Install dimmers on all overhead fixtures and consider smart switches (Lutron Caseta, Leviton, etc.) that integrate with home automation. LED strip lighting behind the screen or along the baseboards adds a subtle glow without washing out the picture. Keep color temperature at 2700K or lower (warm white) to minimize blue light that fatigues eyes.
HVAC and noise: A quiet HVAC system is critical. Insulated ductwork and inline duct silencers reduce air-rush noise. Aim for NC 25 or lower (Noise Criterion rating). If your furnace or air handler is loud, consider a mini-split system with the compressor outside and a wall-mounted head unit inside, many operate below 30 dB.
Check local building codes before framing a new room or adding electrical. Basement theaters often require egress windows for fire safety, and some jurisdictions treat home theaters as assembly spaces if seating exceeds a certain count.
Budget Planning and Cost Considerations
Luxury home theater budgets vary widely by region, room size, and equipment tier, but here’s a realistic breakdown for a dedicated 14×20-foot room with two rows of seating:
Equipment (A/V, seating, and control):
- Projector and screen: $3,000–$8,000 (4K laser projector, 120-inch acoustically transparent screen)
- Audio separates and speakers: $5,000–$15,000 (AV processor, amplifiers, 7.2.4 speaker array, dual subwoofers)
- Seating: $2,000–$6,000 (six to eight power recliners, riser platform materials)
- Automation and control: $500–$2,500 (universal remote, smart lighting, motorized shades)
Construction and treatment (DIY-friendly with some subcontractor help):
- Soundproofing and acoustic treatment: $1,500–$4,000 (resilient channels, mass-loaded vinyl, acoustic panels, bass traps)
- Electrical and low-voltage wiring: $800–$2,000 (dedicated circuits, in-wall speaker wire, HDMI distribution)
- Lighting and HVAC modifications: $500–$2,000 (dimmers, LED strips, duct silencers)
- Paint, carpet, trim, and finishes: $800–$1,500 (dark matte paint reduces reflections: dense carpet improves acoustics)
Total estimated range: $14,000–$41,000. The wide range reflects choices like DIY acoustic panel builds vs. custom fabrication, mid-tier vs. flagship projectors, and whether you’re adding the theater to an existing finished space or building from studs.
Where to save without sacrificing performance:
- Build your own acoustic panels. Rigid fiberglass, 1×4 pine frames, and fabric cost about $15–$25 per 2×4-foot panel vs. $80–$150 retail.
- Start with 5.2.2 Atmos and add height channels later. Processors and amps handle expansion: just run the wire during construction.
- Use a large-format TV instead of a projector if your room has significant ambient light you can’t control. A 75- or 85-inch set costs less than a mid-tier projector and screen combo.
- Shop refurbished or prior-generation models. Last year’s flagship receiver often matches this year’s mid-tier specs at 30% less.
Where not to cut corners:
- Acoustic treatment. Skipping panels and bass traps turns a $10,000 system into a boomy, echoey mess.
- Seating riser construction. If you’re building a stepped platform, use 2×10 or 2×12 joists on 16-inch centers, not 2×4s. Secure to wall studs with structural screws or lag bolts. An undersized riser will flex and creak.
- Speaker placement and calibration. Even expensive speakers sound mediocre if placed randomly. Use the AV processor’s room correction software (Audyssey, Dirac, or similar) after installation.
Reviews and buying guides from sources like Tom’s Guide help compare specs and street prices across brands, especially for projectors and displays where manufacturer claims don’t always match real-world performance.
Permits and professionals: Most cosmetic theater builds (painting, acoustic panels, seating) don’t require permits. Adding or modifying electrical circuits does in most jurisdictions, hire a licensed electrician if you’re not comfortable with load calculations and panel work. Structural changes (removing walls, building risers over 30 inches tall) may also need permits and inspections. Check with your local building department before framing or running new circuits.
Conclusion
A luxury home theater rewards planning as much as spending. Prioritize room acoustics, controlled lighting, and thoughtful equipment placement over chasing the latest spec-sheet features. Start with a realistic budget, tackle soundproofing and wiring during construction, and don’t skip calibration once the gear is installed. Done right, you’ll have a space that delivers reference-quality performance for years, and actually gets used.