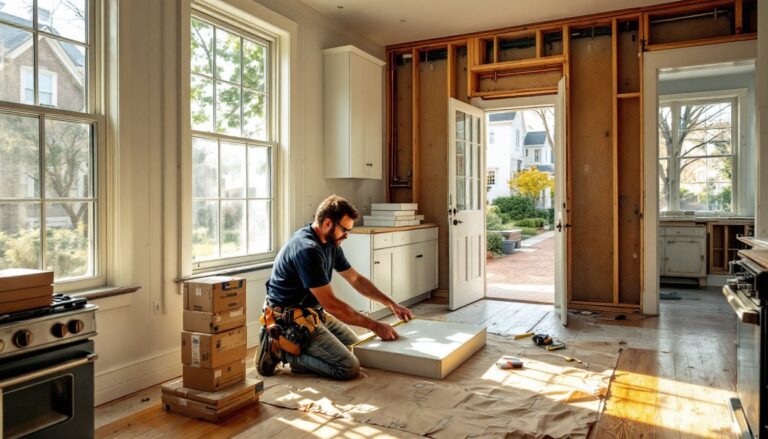
Mobile home roofs face unique challenges. They’re flatter than most stick-built homes, use different materials, and often show wear faster due to thermal expansion and lighter structural support. When leaks start or shingles blow off, finding a contractor who actually understands manufactured housing makes all the difference. Not every roofer works on mobile homes, and the ones who do need specific skills and materials. This guide walks through identifying roof problems, vetting local contractors, knowing when DIY is feasible, understanding cost factors, and handling emergencies until help arrives.
Table of Contents
ToggleKey Takeaways
- Mobile home roof repair near me requires finding contractors experienced specifically in manufactured housing, as they face unique challenges like minimal roof pitch, thermal expansion stress, and lighter structural support that differ from stick-built homes.
- Common mobile home roof problems include ponding water, seam separation, fastener back-out, and vent boot failures—each requiring material-specific expertise, so verify contractors have recent experience with your exact roof type (metal, rubber membrane, or asphalt shingles).
- Costs for mobile home roof repair vary widely: minor repairs ($150–$500), roof coatings ($2–$4 per square foot), partial membrane replacement ($4–$7 per square foot), and full replacements ($5–$14 per square foot depending on material, making itemized bids essential for accurate comparison.
- Safe DIY repairs include coating application, small rubber patches (under 12 inches), and sealant touch-ups, but hire a professional for structural concerns, full re-roofs, permit-required work, or active leaks affecting multiple rooms.
- During emergency roof damage, prioritize safety, stop interior leaks with tarps and buckets, secure a reinforced poly tarp (at least 6-mil) over exterior damage, document everything for insurance, and avoid unlicensed “storm chasers” offering quick repairs.
- Before hiring, ask contractors about their experience with your specific roof type, permit requirements, warranty coverage, and how they handle cost overruns—and always get three written estimates with itemized materials, labor, disposal, and permit costs separated.
Common Mobile Home Roof Problems That Require Repair
Mobile home roofs typically fall into three categories: metal (aluminum or steel), rubber membrane (TPO or EPDM), or asphalt shingles over OSB. Each has distinct failure modes.
Ponding water is the most frequent issue. Manufactured homes often have minimal roof pitch, sometimes as low as 1:12, which allows water to sit in depressions. Over time, this degrades sealants and accelerates rust on metal roofs or membrane breakdown on rubber systems.
Seam separation occurs where roof panels overlap or where rubber membrane sections meet. Mobile homes expand and contract more than conventional houses due to thinner framing. This movement stresses seams, especially around roof-over installations where new material is layered over old without removing the original surface.
Belly wrap deterioration isn’t the roof itself, but the underbelly vapor barrier that works with the roof system. When it fails, moisture moves upward, causing insulation to compress and roof decking to rot from below. You’ll notice sagging ceilings before you see exterior damage.
Fastener back-out happens when screws or nails loosen due to thermal cycling. Metal roofs in particular expand in summer heat and contract in winter cold. Fasteners work their way out, creating puncture points for water entry.
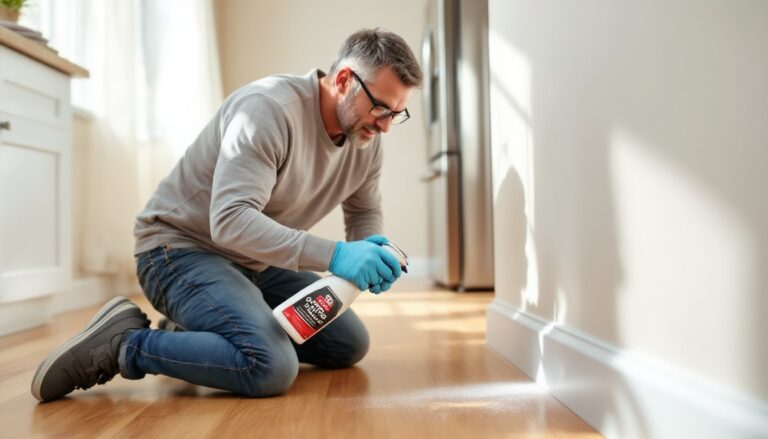
Vent boot and flashing failures around plumbing stacks, skylights, and AC units are common. Many mobile home flashings use butyl tape or mastic rather than soldered or mechanically fastened systems. UV exposure breaks down these sealants within 5–8 years. When hiring contractors for roof work, understanding these material-specific issues helps evaluate whether they’re truly experienced with manufactured housing rather than just conventional residential roofing.
How to Find Qualified Mobile Home Roofing Contractors in Your Area
Start by confirming the contractor has experience with manufactured housing specifically. A roofer who does 200 stick-built homes per year but only two mobile homes won’t understand how roof trusses attach to wall frames differently, or how to work around belly wrap and ceiling panel configurations.
Check their licensing and insurance status. Requirements vary by state, but most jurisdictions require a general contractor or specialty roofing license for jobs over a certain dollar threshold (often $500–$1,000). Verify coverage includes general liability and workers’ compensation. Mobile home work sometimes falls into gray areas, some insurers exclude manufactured housing, so ask explicitly.
Look for contractors who carry materials specific to mobile homes. If they only stock architectural shingles and don’t mention TPO, EPDM, or aluminum roof coatings, they may not be equipped for your project. Many contractor directories allow filtering by specialty, which helps narrow the field quickly.
Ask for recent references on similar roof types. A metal roof repair requires different skills than a rubber membrane patch. Request photos of completed jobs and contact at least two references. Ask those homeowners how the contractor handled unexpected issues, mobile home roofs almost always reveal hidden problems once work begins.
Get three written estimates that itemize materials, labor, disposal, and permits separately. Lowball bids often skip crucial steps like replacing rotted decking or upgrading ventilation. Mid-range bids with detailed scopes usually indicate thorough assessments.
Questions to Ask Before Hiring a Roofing Professional
Before signing a contract, confirm these details:
- “Have you worked on [your specific roof type] in the past six months?” Recent experience matters more than decade-old jobs.
- “Will you remove the old roof or install over it?” Roof-overs are cheaper but add weight and hide underlying damage. Most mobile homes can’t support more than two layers.
- “Do you pull permits, and what’s the timeline?” Some jurisdictions require permits for re-roofing manufactured homes. If the contractor says “no permit needed,” verify that independently with your local building department.
- “What’s your warranty on labor and materials?” Material warranties come from manufacturers (often 10–20 years). Labor warranties vary widely: 2–5 years is standard. Get it in writing.
- “How do you handle cost overruns?” Rotted framing, hidden leaks, or outdated ventilation often surface mid-project. A good contract outlines how change orders are approved and priced.
- “What’s your payment schedule?” Avoid contractors demanding full payment upfront. Standard terms are 10–20% deposit, progress payments at milestones, and final payment upon completion and inspection. Platforms like Angi often provide cost benchmarking to help evaluate whether payment structures are reasonable.
DIY Mobile Home Roof Repair: When It’s Safe and When to Call a Pro
Safe DIY repairs include coating application, minor sealant touch-ups, and replacing individual damaged shingles or small sections of rubber membrane. These don’t involve structural work or large-scale water intrusion.
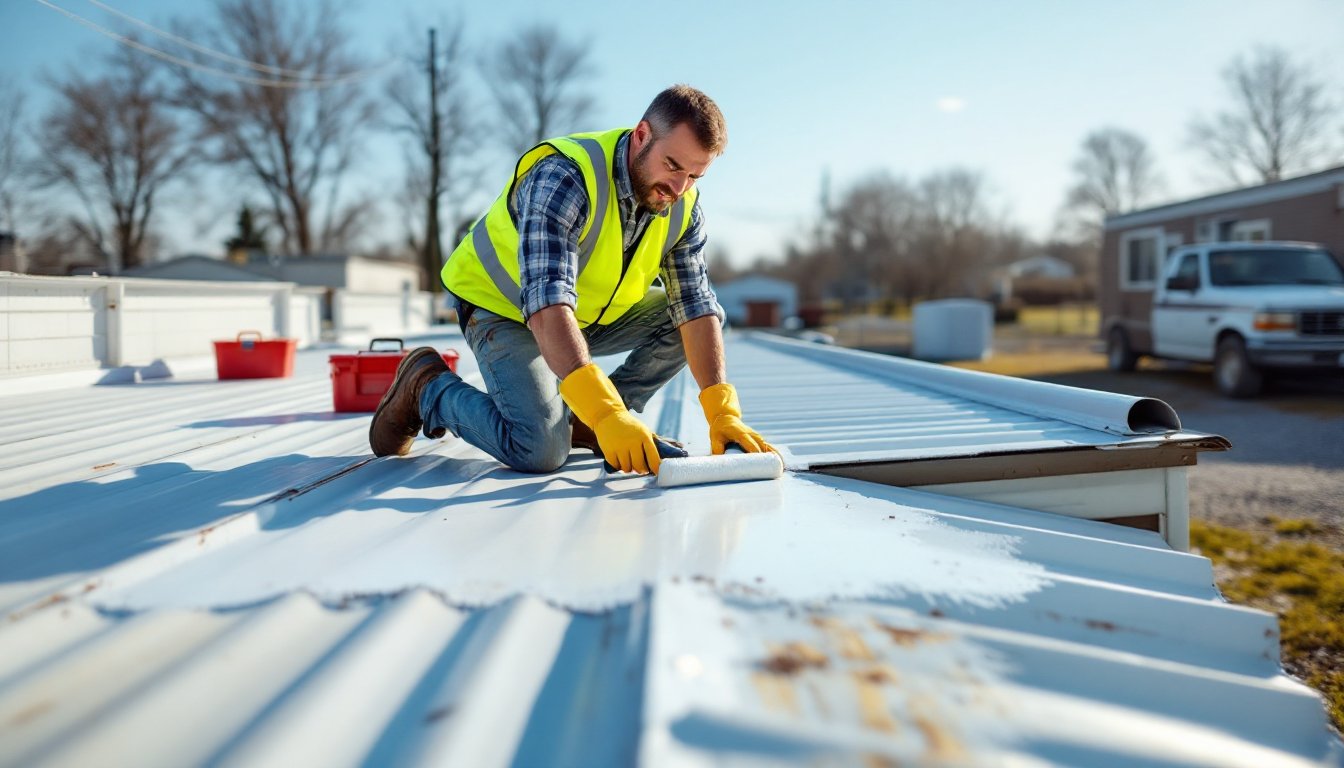
For metal roofs, applying an elastomeric or aluminum roof coating is a common DIY project. Use a product rated for mobile home use, many require a primer coat on bare metal or over aged coatings. Coverage runs about 100 square feet per gallon for most products. Work in temperatures between 50°F and 90°F and avoid applying before rain. Wear gloves, safety glasses, and non-slip footwear: mobile home roofs are slick, especially when wet.
Rubber membrane patches are straightforward if the damage is under 12 inches. Clean the area with rubber membrane cleaner, apply EPDM or TPO primer (match your membrane type, they’re not interchangeable), and press on a patch with at least a 3-inch overlap on all sides. Use a roller to eliminate air bubbles. This works for punctures, small tears, or seam gaps.
When to call a professional:
- Structural concerns: Sagging roof sections, soft spots when walking, or visible framing damage indicate compromised trusses or decking. Mobile home roof trusses are typically 2×3 or 2×4 lumber on 16-inch or 24-inch centers, far lighter than site-built homes. Repairs require knowledge of load paths and may need engineering approval.
- Full re-roofs or roof-overs: Installing a complete new surface involves fastening schedules, proper ventilation (intake at soffits, exhaust at ridge or gable ends), and flashing details that affect the entire structure. DIY errors here lead to catastrophic leaks or wind uplift.
- Permit-required work: Most jurisdictions require permits for re-roofing or structural repairs. Pulling your own permit as a homeowner is legal in many areas, but inspections will catch substandard work.
- Safety risks: Mobile home roofs are typically 7–12 feet off the ground, but their lightweight construction makes them less stable underfoot. If you’re uncomfortable with heights, lack fall protection, or the roof flexes noticeably when walked on, hire a pro.
- Active leaks affecting multiple rooms: This usually means widespread membrane failure, multiple seam issues, or decking rot, all beyond simple patch jobs.
Understanding Mobile Home Roof Repair Costs and Pricing Factors
Minor repairs, resealing a vent boot, patching a small tear, or replacing a few shingles, typically run $150–$500 including labor. Costs rise quickly if access is difficult or if the contractor needs to special-order materials.
Roof coatings over existing metal or rubber surfaces cost $2–$4 per square foot for materials and labor. A typical single-wide mobile home (14′ x 60′) has roughly 840 square feet of roof area, putting coating projects in the $1,700–$3,400 range. Double-wides (28′ x 60′ = ~1,680 square feet) run $3,400–$6,700.
Partial membrane replacement (one section or end cap) averages $4–$7 per square foot. Full rubber membrane tear-offs and replacements run $6–$10 per square foot, depending on insulation upgrades, decking condition, and regional labor rates.
Metal roof replacements using ribbed steel or aluminum panels cost $5–$9 per square foot installed. Premium standing-seam systems push $10–$14 per square foot but offer better longevity and weather resistance.
Asphalt shingle re-roofs over mobile homes run $4–$6 per square foot if decking is sound. If OSB or plywood sheathing needs replacement, add $1.50–$2.50 per square foot for materials and labor.
Pricing factors include:
- Roof pitch and accessibility: Flatter roofs are easier to work but don’t shed water as well, sometimes requiring premium materials.
- Decking condition: Soft spots or rot require new sheathing. Mobile homes use thinner decking than conventional homes, often 7/16-inch or 1/2-inch OSB, which costs less but fails faster when wet.
- Removal and disposal: Tear-offs add $1–$2 per square foot for labor and dump fees. Roof-overs skip this but add weight.
- Insulation upgrades: Adding rigid foam insulation (common during re-roofs) costs $0.75–$1.50 per square foot but improves energy efficiency noticeably.
- Regional labor rates: Metro areas and high-cost-of-living regions run 20–40% above rural pricing. Tools like cost estimators help benchmark local averages.
Always get itemized bids. Lump-sum quotes hide where money goes and make it harder to negotiate or compare contractors.
Emergency Roof Repairs: What to Do While Waiting for Help
When a storm tears off shingles or a tree punctures the roof, immediate action limits interior damage.
Step 1: Safety first. Don’t climb onto a wet, damaged, or unstable roof. If you can’t safely access the area from inside or with a ladder from firm ground, wait for professionals. Wear gloves, eye protection, and non-slip boots if you proceed.
Step 2: Stop active leaks from inside. Place buckets under drips. Move furniture and electronics away from wet areas. If water is pouring in, use a plastic tarp or heavy-duty trash bags taped to the ceiling to channel water into containers. This won’t fix the roof but protects belongings.
Step 3: Tarp the exterior if accessible. Use a reinforced poly tarp, at least 6-mil thickness, ideally 10–12 mil. Extend the tarp at least 4 feet beyond the damaged area on all sides. Anchor it with 2×4 boards laid over the tarp edges and screwed or nailed into solid roof framing, not just the surface membrane or shingles. Sandbags or weights work if fastening isn’t possible, but wind can still lift tarps.
Don’t rely on duct tape or adhesive alone, it fails in weather. Use mechanical fasteners or weighted boards.
Step 4: Document everything. Take photos and videos of the damage before and after tarping. Note the date, time, and weather conditions. This helps with insurance claims. Most policies cover “sudden and accidental” damage like storm loss, but you’re typically required to mitigate further damage promptly.
Step 5: Contact your insurance company immediately. Even if you’re not sure you’ll file a claim, report the incident. Delays can complicate claims. Ask whether they have preferred contractors or if you should get multiple bids.
Step 6: Avoid fly-by-night “storm chasers”. After major weather events, unlicensed crews knock on doors offering quick repairs. They often do shoddy work, demand cash upfront, and disappear. Verify licensing, check references, and never pay in full before completion.
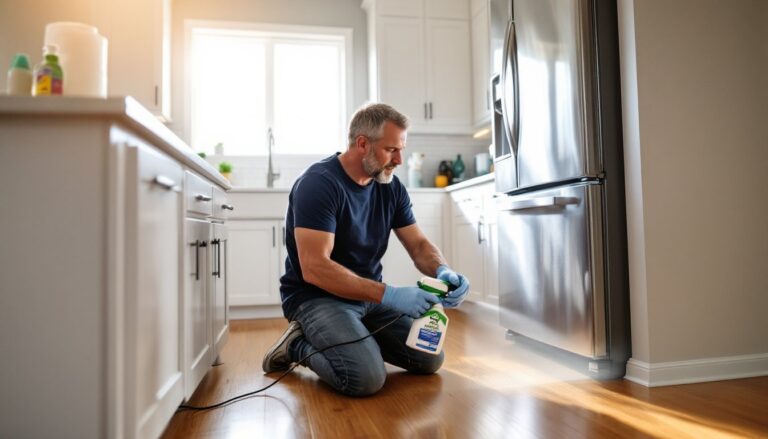
Temporary sealants: For small punctures or torn seams, roof patch tape (butyl or rubberized asphalt-backed) provides a short-term seal. Clean and dry the area first, sealants won’t adhere to wet or dirty surfaces. These are stopgaps, not permanent fixes.
Conclusion
Mobile home roof repairs require more than general roofing knowledge, they demand familiarity with lighter framing, specific materials, and the realities of manufactured housing construction. Whether tackling a small DIY patch or hiring a contractor for a full replacement, understanding common problems, realistic costs, and safety limits ensures the job gets done right. Act quickly on leaks, vet contractors thoroughly, and don’t skip prep work or permits where required.