Replacing a cramped tub-shower combo with a walk-in shower can transform a mobile home bathroom from claustrophobic to comfortable. But mobile homes present unique challenges, lighter floor framing, different plumbing configurations, and tighter tolerances than site-built homes. This guide walks through everything needed to plan, install, and maintain a walk-in shower in a manufactured home, from structural considerations to design choices that maximize limited square footage. Whether tackling the project solo or hiring a contractor, understanding these specifics saves time, money, and frustration.
Table of Contents
ToggleKey Takeaways
- A mobile home walk-in shower eliminates the tub curb for better accessibility, makes small bathrooms feel more spacious, and appeals to potential buyers more than aging tub surrounds.
- Mobile homes require lighter materials and careful structural planning due to their 2×6 or 2×8 floor joists on 24-inch centers; always inspect and repair subfloor conditions with exterior-grade plywood before installation.
- Proper ventilation with a minimum 80 CFM exhaust fan vented directly outdoors, combined with careful waterproofing and annual caulk maintenance, prevents mold and structural damage in mobile home bathrooms.
- Prefabricated acrylic or fiberglass shower pans are ideal for mobile homes, while tile-ready and curbless designs require more extensive subfloor reinforcement and are best handled by experienced contractors.
- DIY mobile home walk-in shower installations cost $1,130–$2,670 in materials, while professional installation adds $1,500–$4,000; always hire contractors experienced with manufactured homes to avoid costly plumbing and framing mistakes.
- Post-installation maintenance—including squeegeeing after use, re-caulking annually, cleaning grout monthly, and monitoring for moisture intrusion—extends the lifespan of your walk-in shower and prevents expensive water damage.
Why Choose a Walk In Shower for Your Mobile Home?
Walk-in showers offer tangible benefits in mobile home bathrooms where space is at a premium. Eliminating the tub curb creates easier access, critical for aging homeowners or anyone with mobility concerns. The open design visually expands small bathrooms, making a 5×8-foot space feel less cramped.
From a resale perspective, modern walk-in showers appeal to buyers more than aging fiberglass tub surrounds common in older manufactured homes. They’re also easier to clean, with fewer grout lines and no tub lip to scrub around.
Mobile home bathrooms typically measure 60 inches wide by 36 inches deep for standard tub alcoves. Converting that footprint to a walk-in shower with a low-threshold or curbless pan opens up layout options, corner benches, niches, or even a frameless glass enclosure that doesn’t visually chop up the room. The accessibility factor alone makes walk-in showers a smart investment, especially for long-term homeowners planning to age in place.
Key Considerations Before Installing a Walk In Shower
Mobile homes are built differently than stick-built houses, and those differences matter when installing a walk-in shower. Most manufactured homes use 2×6 or 2×8 floor joists on 24-inch centers, compared to 16-inch spacing in traditional construction. This lighter framing can complicate heavy tile work or large-format stone installations.
Check the subfloor condition before committing to a design. Many mobile homes use particle board or OSB subflooring, which deteriorates quickly if exposed to moisture. If the existing floor shows soft spots, staining, or water damage, it needs replacement before any shower installation begins. Budget for 3/4-inch exterior-grade plywood or AdvanTech subflooring as a moisture-resistant base.
Ventilation is non-negotiable. Mobile home bathrooms often lack adequate exhaust fans, and a walk-in shower generates more steam than a tub. Install or upgrade to a minimum 80 CFM exhaust fan (higher if the bathroom exceeds 50 square feet). Vent it directly outdoors, never into the attic or crawl space, to prevent mold and structural rot.
Structural and Plumbing Requirements
Mobile home plumbing runs differently than in site-built homes, typically routed through the floor or up from the belly (undercarriage). Relocating drain lines or mixing valves often requires crawling under the home or cutting into the subfloor, messy work, but sometimes unavoidable.
The drain line pitch must drop 1/4 inch per foot toward the main waste line. In mobile homes with limited clearance beneath the floor, achieving proper pitch can be tricky, especially with low-profile shower bases. A 2-inch P-trap and drain are standard for showers: make sure the existing plumbing can accommodate it without flattening the pitch.
Water supply lines in manufactured homes are frequently 1/2-inch PEX or CPVC. These work fine for shower installations, but check pressure and flow rate if adding a rain head or multi-jet system. Anything over three gallons per minute may require upgrading the supply lines.
Load-bearing walls in mobile homes are typically the exterior walls and any interior wall running perpendicular to the marriage line (in double-wides). Avoid cutting into these without consulting a structural engineer or licensed contractor. Removing a non-load-bearing wall to expand the bathroom footprint is doable, but verify framing first. When planning bathroom remodel ideas, it’s wise to confirm structural plans before breaking ground.
Best Walk In Shower Designs for Mobile Homes
Space constraints and floor framing limitations narrow the field to a few practical options. Prefabricated acrylic or fiberglass shower pans are the most common choice for mobile homes. They’re lightweight (under 50 pounds), affordable, and easy to install. Look for single-threshold models that fit standard 60×32-inch or 60×36-inch tub alcoves. Brands like DreamLine, Aquatic, and Mustee offer pans designed for retrofit applications with pre-leveled bases.
Tile-ready shower pans (also called mortar pans or foam pans) give more design flexibility. Products like Schluter Kerdi-Shower or WediBoard systems include waterproof membranes and integrated slope, cutting out the need for hand-packed mortar beds. These systems work well in mobile homes if the subfloor is properly reinforced, budget for at least 3/4-inch plywood underlayment and verify joist spacing.
For minimal-threshold or curbless designs, a linear drain system is essential. Brands like Schluter Kerdi-Line or Infinity Drain allow the entire floor to slope toward a recessed channel, eliminating the curb altogether. This requires more extensive subfloor prep and precise slope work, so it’s not a beginner-friendly install. Expect to lower the shower floor by 1 to 2 inches relative to the bathroom floor, which may involve cutting into the subfloor and adding blocking under the joists.
Wall surrounds should be lightweight and moisture-proof. Acrylic or fiberglass panels are the easiest option, especially for DIYers. They’re available in kits with adhesive and trim, and installation takes a weekend. For a higher-end look, large-format porcelain panels (3×5 feet or larger) reduce grout lines and speed up installation, but confirm the framing can support the added weight. When comparing remodel inspiration across styles, remember that mobile homes reward lighter materials and simpler installations.
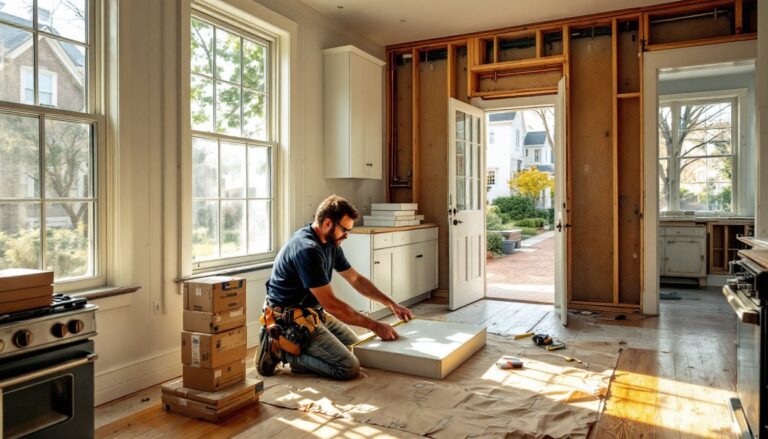
Step-by-Step Installation Process
Start by removing the old tub or shower. Shut off water at the main valve, disconnect supply lines, and remove the drain assembly. Cut through caulk and screws securing the surround, then carefully pry off panels to avoid damaging the studs. If the tub is cast iron or steel, cut it into sections with a reciprocating saw (wear safety goggles, gloves, and ear protection, it’s loud and messy).
Inspect and repair the subfloor. Mobile home floors often hide damage under old fixtures. Replace any soft, stained, or rotted sections with 3/4-inch exterior-grade plywood, screwed into the joists every 6 inches. If the existing floor is particle board, consider overlaying the entire bathroom with plywood for long-term moisture resistance.
Frame adjustments come next. Standard mobile home studs are 2×3 or 2×4 on 16- or 24-inch centers. For tile surrounds, add 1×3 or 2×3 blocking between studs to provide solid backing for ledges, grab bars, or heavy shelves. Mark stud locations clearly, you’ll need them when mounting backer board.
Install the shower base. Set the pan in place and check it for level in all directions using a 4-foot level. Acrylic and fiberglass pans often require a mortar bed or shims underneath to eliminate flex and prevent cracking. Mix non-shrink grout or deck mud (3 parts sand to 1 part portland cement), trowel a 1-inch layer under the pan, and press it into place. Let it cure 24 hours before connecting the drain.
Attach the drain assembly. Apply plumber’s putty around the drain flange, thread it into the pan, and secure from below with the rubber gasket and locknut. Test-fit the P-trap to ensure proper pitch, you may need to adjust blocking or shim the pan slightly.
Waterproof the walls. Install 1/2-inch cement backer board (like HardieBacker or Durock) over the studs, leaving a 1/4-inch gap above the shower pan. Seal seams and screw holes with waterproofing membrane (RedGard, Hydro Ban, or Schluter Kerdi) or use a sheet membrane system. Overlap the membrane onto the shower pan flange by at least 2 inches. This step is critical, mobile homes can’t tolerate water intrusion like site-built homes.
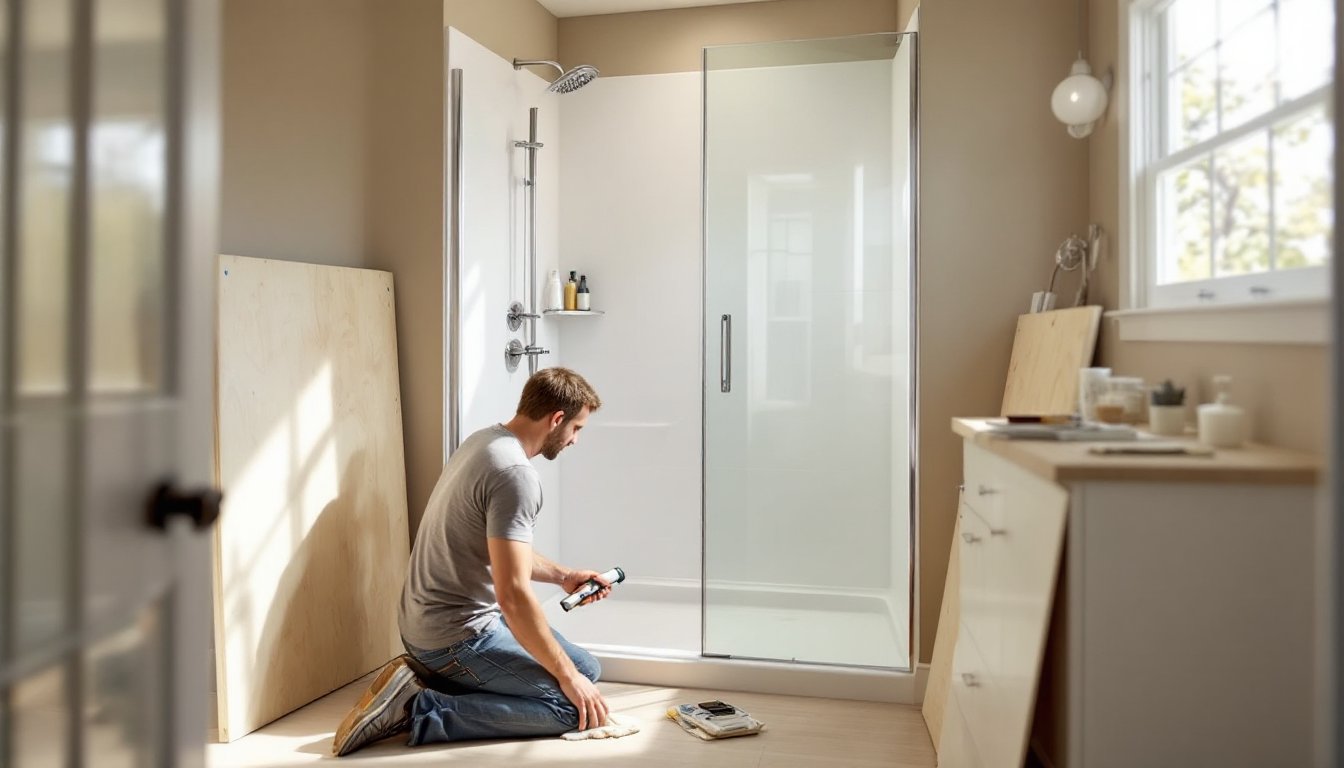
Install wall surrounds or tile. For acrylic panels, follow the manufacturer’s adhesive instructions, usually panel adhesive applied in vertical beads every 6 inches. For tile, use modified thinset on cement board, working in small sections. Large-format tiles (12×24 inches or bigger) go up faster but require flat walls and good trowel technique. Budget 10 percent extra material for cuts and breakage.
Finish with trim and hardware. Install the valve trim, showerhead, and any accessories (grab bars, shelves, soap niches). Caulk all seams with 100% silicone caulk, use clear or color-matched to the surround. Let everything cure for 48 hours before use.
Cost Breakdown: What to Expect When Installing a Walk In Shower
Costs vary widely depending on materials, labor, and existing conditions. Here’s a realistic breakdown for a mobile home walk-in shower in 2026:
DIY material costs:
- Prefab acrylic shower pan (60×32): $250–$600
- Acrylic or fiberglass wall surround kit: $300–$800
- Cement backer board (6 sheets): $80–$120
- Waterproofing membrane (5-gallon pail): $150–$250
- Shower valve and trim kit: $100–$300
- Plumbing fittings, adhesive, caulk, hardware: $100–$200
- Subfloor repair materials (if needed): $150–$400
Total DIY range: $1,130–$2,670, assuming no major plumbing or structural work.
Professional installation typically adds $1,500–$4,000 depending on complexity and regional labor rates. Mobile home-specific contractors may charge slightly more due to the unique framing and plumbing challenges. If subfloor replacement, joist reinforcement, or drain relocation are required, add another $500–$1,500.
For high-end finishes (frameless glass enclosure, tile surround, rain head), expect the total to climb toward $5,000–$8,000 professionally installed. When estimating project costs, always get multiple quotes and confirm contractors have experience with manufactured homes, standard residential plumbers sometimes overlook mobile home-specific quirks.
Permit costs depend on jurisdiction. Some counties require permits for plumbing alterations or if work involves structural changes. Typical permit fees run $50–$150.
Maintenance Tips to Keep Your Walk In Shower Looking New
Mobile home walk-in showers need consistent upkeep to avoid moisture damage. After every use, squeegee the walls or wipe them down with a microfiber cloth. This simple habit prevents hard water buildup and soap scum, especially on glass enclosures and tile.
Re-caulk seams annually. Silicone caulk shrinks and cracks over time, allowing water to seep behind walls. Scrape out old caulk with a utility knife, clean with rubbing alcohol, and apply fresh 100% silicone. Focus on corners, the pan-to-wall joint, and around valve trim.
Clean grout lines every few months with a pH-neutral cleaner and a stiff brush. Avoid acidic or abrasive cleaners, they erode grout and damage acrylic finishes. For acrylic surrounds, use mild dish soap and water. Never use bleach or ammonia-based products: they yellow and weaken acrylic over time.
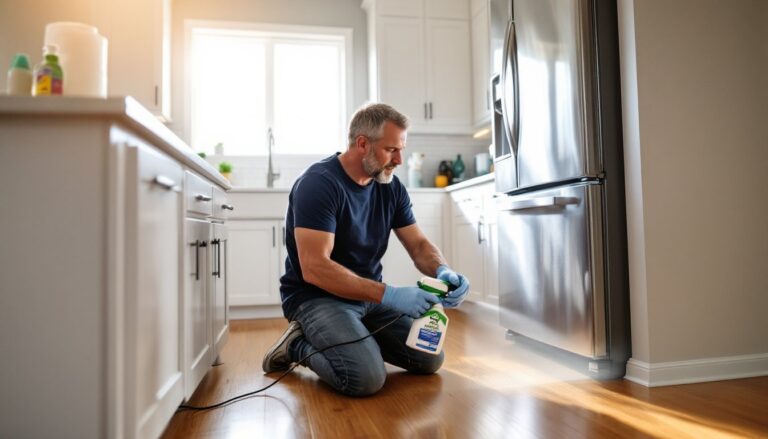
Inspect the P-trap and drain twice a year. Hair and soap residue clog drains faster in walk-in showers with low-flow drainage. Remove the cover, pull out debris, and flush with hot water. A mesh hair catcher catches buildup before it reaches the trap.
Check exhaust fan operation monthly. Clean the cover and fan blades every six months to maintain airflow. A sluggish fan traps humidity, inviting mold and delaminating wall panels.
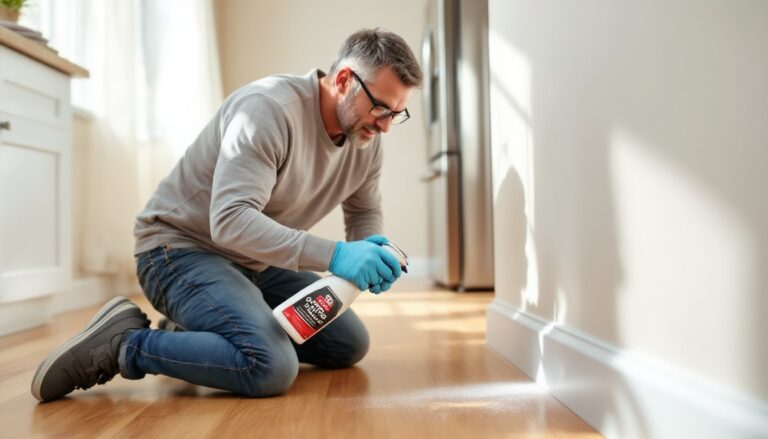
Monitor the subfloor for soft spots or discoloration around the shower perimeter. Mobile home floors telegraph moisture problems quickly. Catching leaks early prevents costly repairs down the line. If the floor feels spongy or squeaks develop near the shower, investigate immediately, water intrusion spreads fast in manufactured homes.